Our Company


Latest News
Spotlight

Godzilla X Kong: The New Empire
In Theaters Now.

Furiosa: A Mad Max Saga
Only in Theaters May 24.

The Sympathizer
New episodes Sundays at 9pm on HBO.

Rock the Block
New episodes Mondays at 9pm on HGTV and Max.

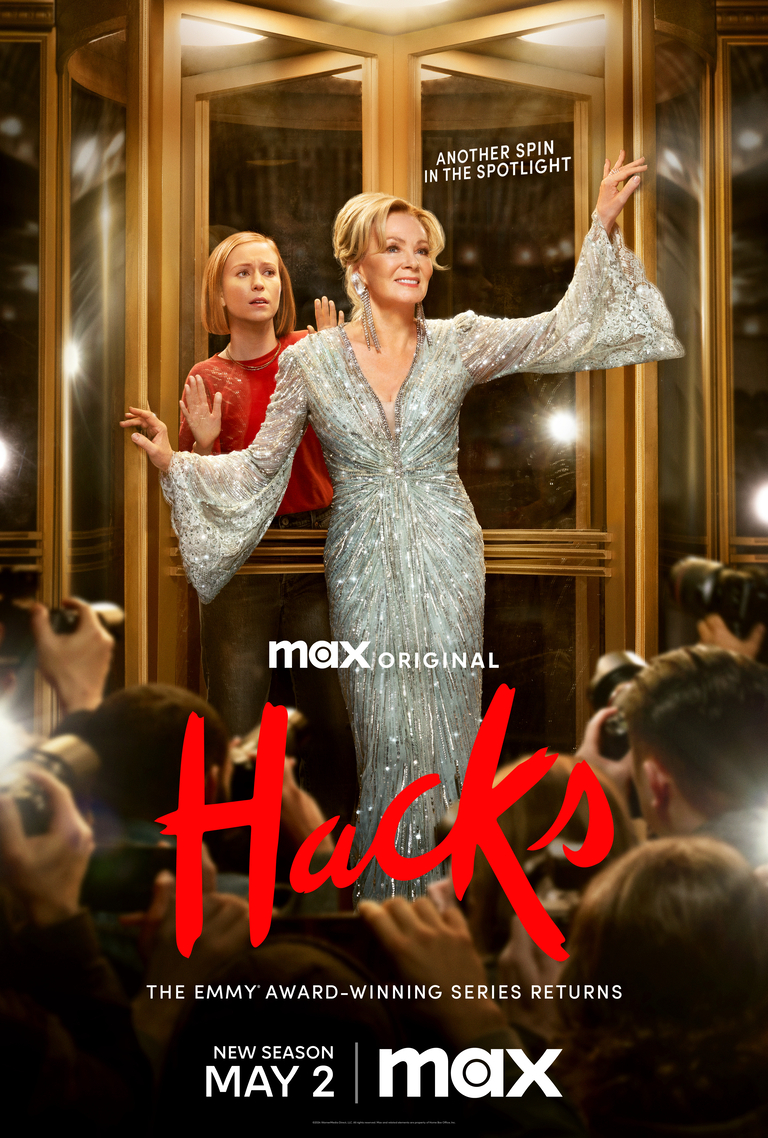
Hacks
Premiering May 2 on Max.
Conan O’Brien Must Go
Premiering April 18 on Max.

Curb Your Enthusiasm
Stream the final season on Max.

The Regime
Streaming on Max.